 how-to
How to Prepare for Portable Toilet Delivery: 2026 Guide
Table of Contents
- Step 1: Choose the Right Placement Area for Your Portable Toilet
- Step 2: Confirm Porta Potty Delivery Clearance and Truck Access
- Step 3: Prepare the Ground Surface for Portable Toilet Delivery
- Step 4: Complete a Site Inspection Checklist Before Delivery
- Step 5: Plan for Ongoing Maintenance and Service Access
- Common Mistakes to Avoid When Preparing for Portable Toilet Delivery
- Frequently Asked Questions
Last Updated: September 13, 2026
Step 1: Choose the Right Placement Area for Your Portable Toilet
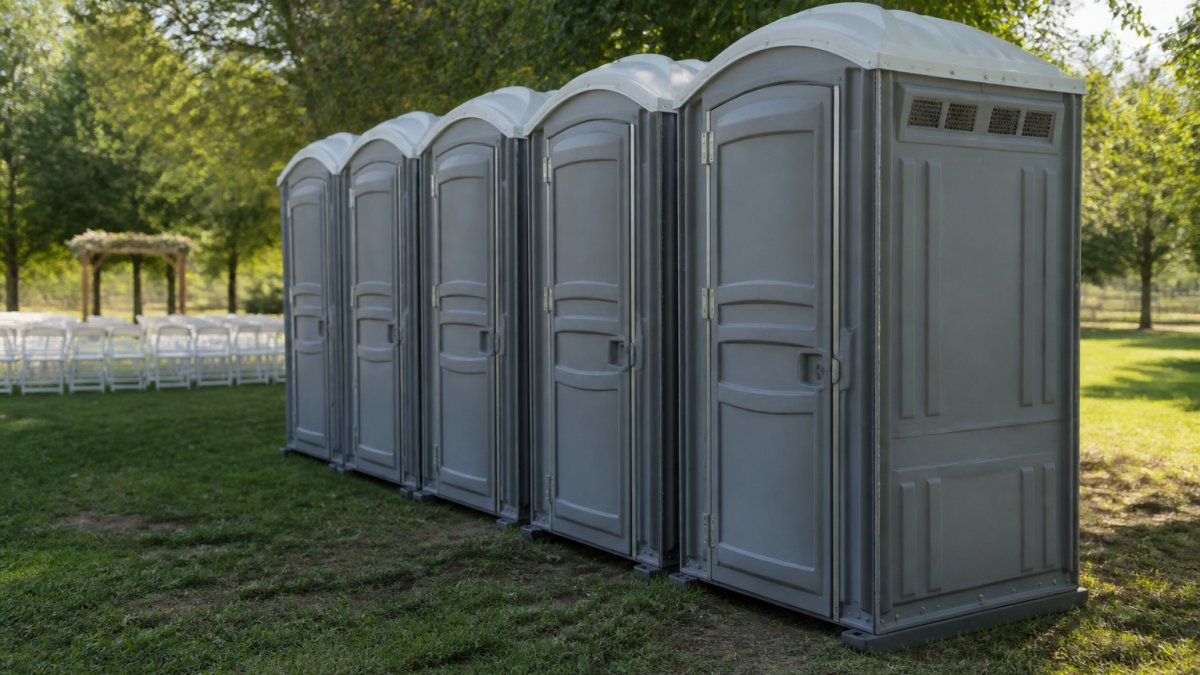
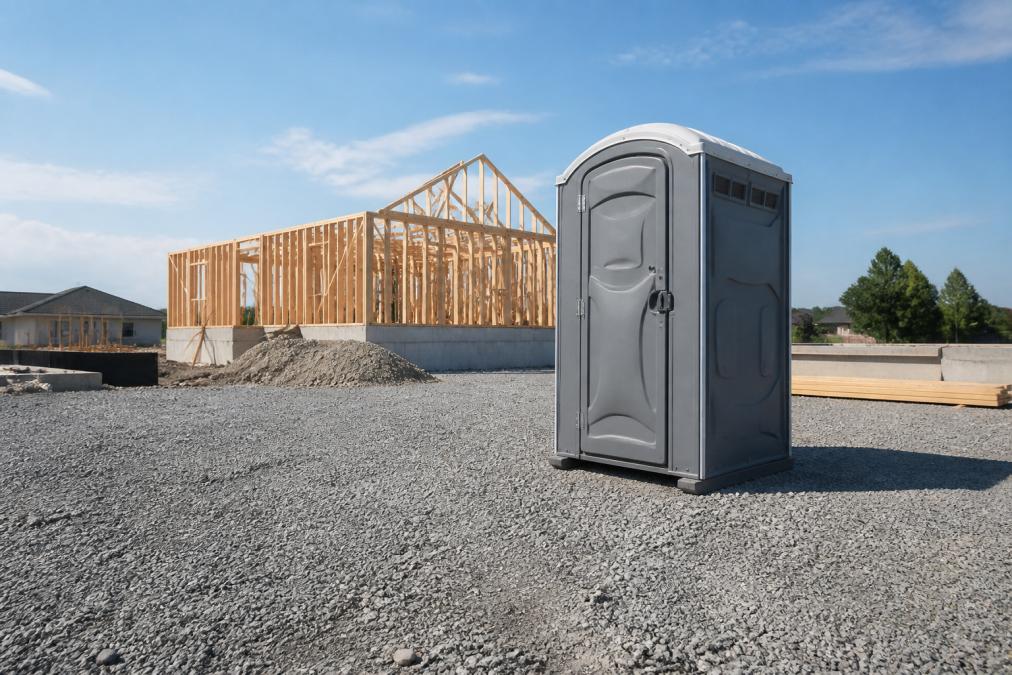
Where a portable toilet sits determines whether every future service visit goes smoothly. Portable toilet delivery is easier when the unit lands on firm, level ground with clear truck access and sensible distance from buildings, trees, and drainage.
Distance from Structures, Trees, and Drainage
Keep the unit at least 3 meters from buildings, tree trunks, and drainage swales (osha.gov). Roots crack plastic bases, roof runoff floods the interior, and a unit wedged against a wall leaves no room for the service hose. Position it downwind of gathering areas, and never block an emergency exit or fire lane.
Distance is also about water movement. A unit at the bottom of a downspout, driveway crown, or graded swale sits in a puddle after every storm. Walk the site after a rain, or look for stained soil, matted grass, or a ring of debris, those are the spots to avoid.
Level Ground and Surface Stability
The base must sit within roughly 5 degrees of level, or the waste tank will not drain completely during service (the CDC). Gravel, packed dirt, or asphalt all work; soft turf does not. If the only viable spot slopes, build up the low side with compacted gravel or a plywood pad.
A 5-degree slope over a standard unit's roughly 1.2-meter footprint means about a 10-centimeter height difference side to side, enough to pool waste and leave residue after every pump-out. Check level with a 4-foot spirit level in two directions.
Drainage, Setback, and Sun Exposure
Three placement factors get overlooked most: drainage, setback, and sun exposure.
- Drainage. Never place a unit in a low spot, at the base of a hill, or under a roof drip line. Pooled rainwater turns gravel into mud and mud into a tipping hazard. If the only flat spot is also the low spot, build it up with compacted crushed stone before delivery.
- Setback from traffic. On a job site, keep the unit outside the swing radius of excavators, the path of forklifts, and the fall zone of overhead work. On an event site, keep it off the main walking line but within sight of the gathering area.
- Sun exposure. In summer, a unit in full sun all day heats up fast and smells worse; partial shade keeps it comfortable and cuts deodorizer use. In winter, a sunny spot helps keep the interior from freezing.
A Quick Placement Walkthrough
Before committing to a spot, walk it in this order:
- Stand where the truck will park and check the path to the unit is straight, clear, and wide enough.
- Lay a level across the intended base in two directions, is it within 5 degrees?
- Look uphill and downhill. Where does water go when it rains?
- Look up for branches, wires, or roof edges that could drop debris or runoff.
- Look around. Is the unit visible, approachable, and clear of vehicles and equipment?
If it fails any check, fix it before delivery day.
Step 2: Confirm Porta Potty Delivery Clearance and Truck Access
Porta potty delivery clearance is the requirement most first-time renters underestimate. The service truck needs a straight, unobstructed path to within roughly 9 meters of the unit, the practical reach of a standard vacuum hose.
Service Truck Hose Length and Turning Radius
Most service trucks carry hose in the 9 to 12 meter range; anything beyond forces the driver to reposition and eats into your delivery window (the EPA). The truck also needs room to exit without reversing into fences or equipment.
Clearing a Path for Delivery Trucks
Clear the delivery path of low branches, bins, parked cars, and debris at least a day ahead. A blocked path is the most common reason a delivery gets rescheduled. Make sure any gate opens fully and stays open, and mark the staging area so nobody parks there.
Step 3: Prepare the Ground Surface for Portable Toilet Delivery
Ground preparation is where a rental either thrives or fails. A stable, well-drained surface keeps the unit upright through storms and keeps service crews out of the mud.
Muddy Terrain, Unpaved Ground, and Inclines
On unpaved ground, lay a gravel or crushed-stone pad roughly 1.2 meters square under the base. Muddy terrain needs plywood or coarse gravel to stop the unit sinking. For inclines steeper than 5 degrees, terrace the spot or build up the downhill side, and never park in a low spot where rainwater pools.
How to build that pad so it holds:
- Crushed stone, not round gravel. Rounded pea gravel rolls and shifts under load; crushed stone with angular faces locks together. A 10- to 15-centimeter layer of 3/4-inch crushed stone, tamped down, supports a standard unit and a technician.
- Plywood over mud. On saturated ground where gravel would sink, a sheet of 3/4-inch exterior-grade plywood spreads the load and gives the base a flat surface. Cut it slightly larger than the unit footprint.
- Terracing on slopes. If the only spot slopes more than 5 degrees, do not shim the unit. Dig a shallow terrace into the hillside, or build a small retaining edge on the downhill side and fill behind it with compacted stone.
- Drainage away from the base. Slope the finished pad so water runs away from the unit. A 2 percent grade, about 2 centimeters of fall per meter, sheds water without making the unit unstable.
Weather-Proofing and Wind Anchoring
Anchor the unit against wind before it arrives. Most portable toilets have tie-down points, and on exposed sites stakes or straps are not optional, wind can tip an unanchored unit in open fields or near ridgelines. Re-tighten tie-downs after every major storm.
Wind is the most underestimated risk in portable toilet placement: an empty or freshly serviced unit is at its lightest. Anchoring methods that work:
- Ground stakes. Drive 12- to 18-inch stakes at a 45-degree angle away from the unit and tension the straps so it is pulled down and outward. Straight-down stakes pull out under lateral load.
- Auger anchors. On hard or rocky ground where stakes will not drive, screw-in auger anchors hold better and are easier to remove.
- Ballast. On pavement or concrete, weight the base with sandbags or water-filled ballast blocks on the tie-down points, common at events on parking lots and plazas.
- Windbreaks. On a fully exposed site, a temporary windbreak, construction fencing with a mesh screen, or a line of pallets, reduces the load on the unit and its anchoring hardware.
Rain matters too: runoff crossing the pad pushes water against the door and into the base. Check the pad after the first storm and adjust if water pools.
Post-Storm and Mid-Rental Ground Checks
Ground conditions change over a rental: a firm pad can soften after rain, and anchoring can loosen. Build a short mid-rental check into your routine:
- Re-check level after any significant rain or freeze-thaw cycle.
- Re-tighten straps and re-seat stakes if the ground has softened.
- Clear any debris or standing water that has collected around the base.
- Confirm the service path is still clear and the pad has not shifted.
Step 4: Complete a Site Inspection Checklist Before Delivery
A short inspection the day before delivery catches almost every problem while there is still time to fix it:
- Placement area is level within 5 degrees
- At least 3 meters of clearance from structures, trees, and drainage
- Delivery path is clear of vehicles, debris, and low branches
- Truck can reach within 9 meters of the unit
- Gate opens fully and stays open
- Gravel or plywood pad is in place on soft ground
- Unit is downwind of gathering areas
- Tie-down points are accessible for anchoring
Access Requirements for Service Vehicles
Confirm the route a service truck will take. Check gate widths, overhead clearance, and load limits on any bridge or culvert. If the site has one narrow entrance, schedule delivery for a low-traffic window.
Safety and Security of the Unit
Place the unit where it is visible but not in a traffic lane. On job sites, keep it away from lifting zones and heavy equipment paths. For events, keep it near but not inside the main gathering area, and add lighting for evening events.
Step 5: Plan for Ongoing Maintenance and Service Access
Service access is a weekly commitment for the life of the rental. Plan the maintenance route as carefully as the delivery route, an unreachable unit becomes a health hazard fast.
Weekly Maintenance and Waste Removal
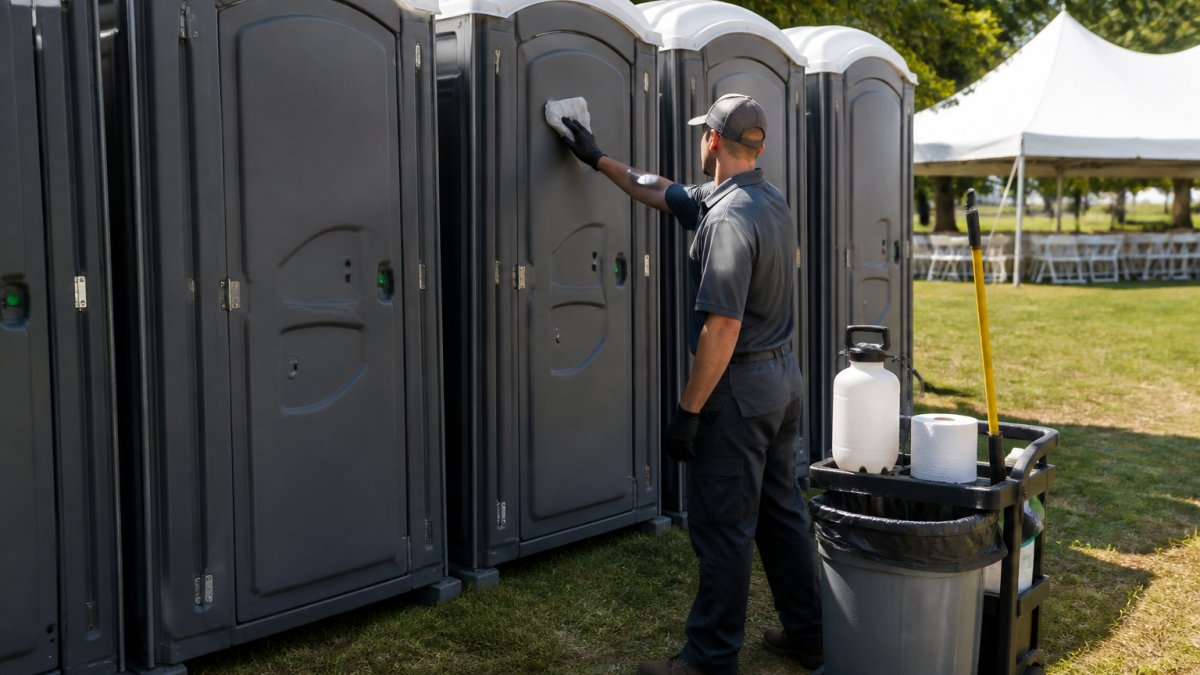
Standard service is weekly, though high-traffic job sites and large events may need more frequent visits. Each call pumps the waste tank, refreshes the deodorizer, and restocks supplies. Keep the path clear every week, not just on delivery day.
Post-Delivery Inspection Steps
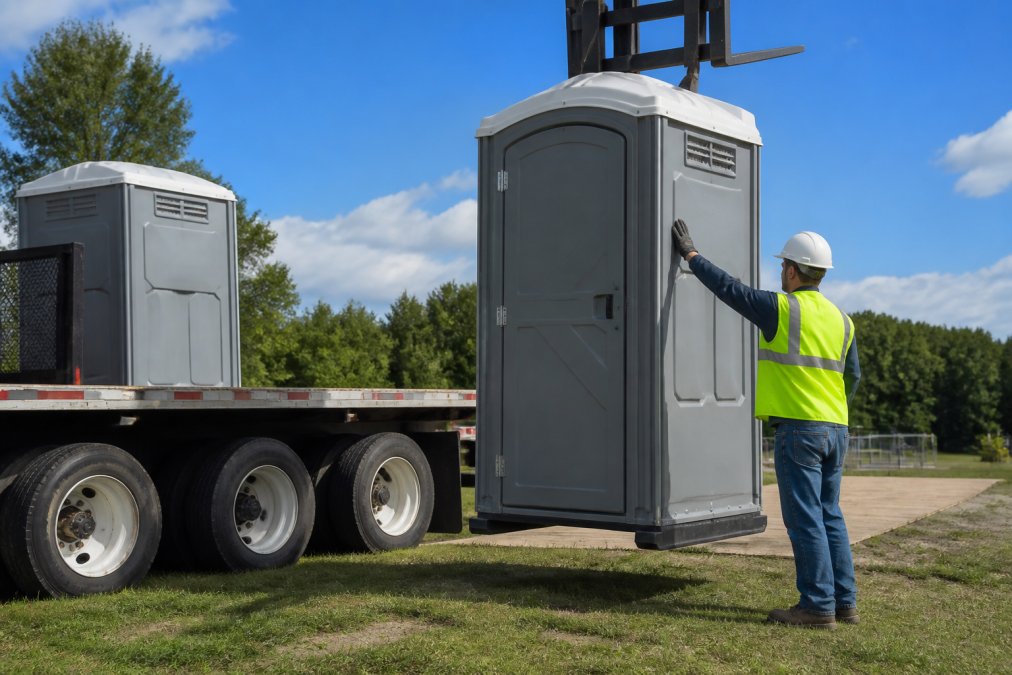
When the unit lands, do a quick walkthrough before the driver leaves:
- Confirm the unit sits level and does not rock.
- Check that the door latches and vents are clear.
- Verify the waste tank is empty and the interior is clean.
- Confirm tie-downs are secure if the site is exposed.
- Note the unit's position so you can find it after dark.
Common Mistakes to Avoid When Preparing for Portable Toilet Delivery
The most frequent preparation failures are predictable and avoidable with a few minutes of forethought.
- Blocking the delivery path. A parked truck or locked gate turns a five-minute drop into a rescheduled visit.
- Ignoring the slope. A unit that looks level by eye often sits two or three degrees off, enough to prevent complete drainage.
- Forgetting wind anchoring. Exposed sites need stakes or straps, no exceptions.
- Placing the unit in a low spot. Poor drainage means standing water and a muddy base within a week.
- Not clearing the service route. The path that worked on delivery day gets cluttered within days.
Frequently Asked Questions
How much space is required for a portable toilet delivery?
Most portable toilet units need a level area of at least 3 feet by 3 feet for the unit itself, plus a clear path at least 10 feet wide for the delivery truck. The service truck also needs space to extend its hose, which typically reaches 20 to 30 feet. If you are unsure about your site, ask your provider to confirm porta potty delivery clearance before the scheduled drop-off.
What is the best surface for placing a portable toilet?
A flat, stable surface such as packed gravel, asphalt, or concrete works best. These surfaces support the unit's weight and allow the service truck to pump waste without sinking. Avoid soft mud, sand, or steep inclines. If you must place a unit on grass or unpaved ground, lay down a plywood base or gravel pad first to improve ground stability and prevent tipping.
Do I need to be present for the portable toilet delivery?
You do not have to be on site for the delivery, but someone should be available to confirm the placement area and unlock any gates. If you cannot be there, mark the exact spot with stakes or cones and leave clear instructions for the driver. This helps avoid delays and ensures the unit ends up where you need it for your job site or event.
What site conditions prevent a successful portable toilet delivery?
Soft or muddy terrain, steep inclines, low tree branches, parked vehicles blocking the access route, and locked gates can all prevent a successful delivery. Unpaved ground that has recently been rained on is a common problem. Before delivery day, walk the route a service truck will take and remove any obstacles. If conditions look risky, call your provider to discuss alternatives.