 how-to
Portable Restroom Placement Tips for Large Sites
Table of Contents
- Start with Site Assessment and Layout Planning
- How Many Portable Toilets for a Construction Site
- Creating a Portable Restroom Site Plan
- Ensuring Portable Restroom Service Access
- Choosing Ground Conditions and Terrain
- Portable Restroom Servicing Frequency and Scheduling
- Making Units Accessible to All Users
- Common Mistakes to Avoid
- Frequently Asked Questions
Last Updated: October 19, 2026
Start with Site Assessment and Layout Planning
Portable restroom placement begins long before units arrive. Walk the entire area and note where people will work, gather, and move throughout the day.
Look for natural traffic patterns. A wedding venue needs restrooms near the reception area, a construction site needs them across multiple work zones, and a farm operation needs them accessible to seasonal workers.
Document the terrain. Soft soil, slopes, or wet areas create problems for portable restroom placement, so mark them on a simple map.
Check sight lines and weather exposure. Keep restrooms visible but away from food service areas, main attractions, and queues.
This assessment takes time but prevents most placement mistakes, which happen when site managers skip this step.
How Many Portable Toilets for a Construction Site
The number of portable toilets depends on crew size and shift length. A common approach is one unit for every 10 workers on a single shift.
Heavy labor and outdoor work increase restroom demand and require more units; indoor office work requires fewer.
Duration matters too. For longer projects, plan maintenance cycles and schedule servicing around work hours to prevent disruptions.
Breaks create surges in demand, especially at morning start and lunch. Space units to handle these peaks; long lines frustrate crews and cut into productivity.
Document your estimate. Share it with your service provider. They can recommend adjustments based on site conditions and work patterns.
Creating a Portable Restroom Site Plan
A written site plan prevents confusion and ensures consistent placement. Map your site on paper or with a simple digital tool, marking work zones, equipment storage, material staging, break zones, and the primary pedestrian and vehicle routes between them.
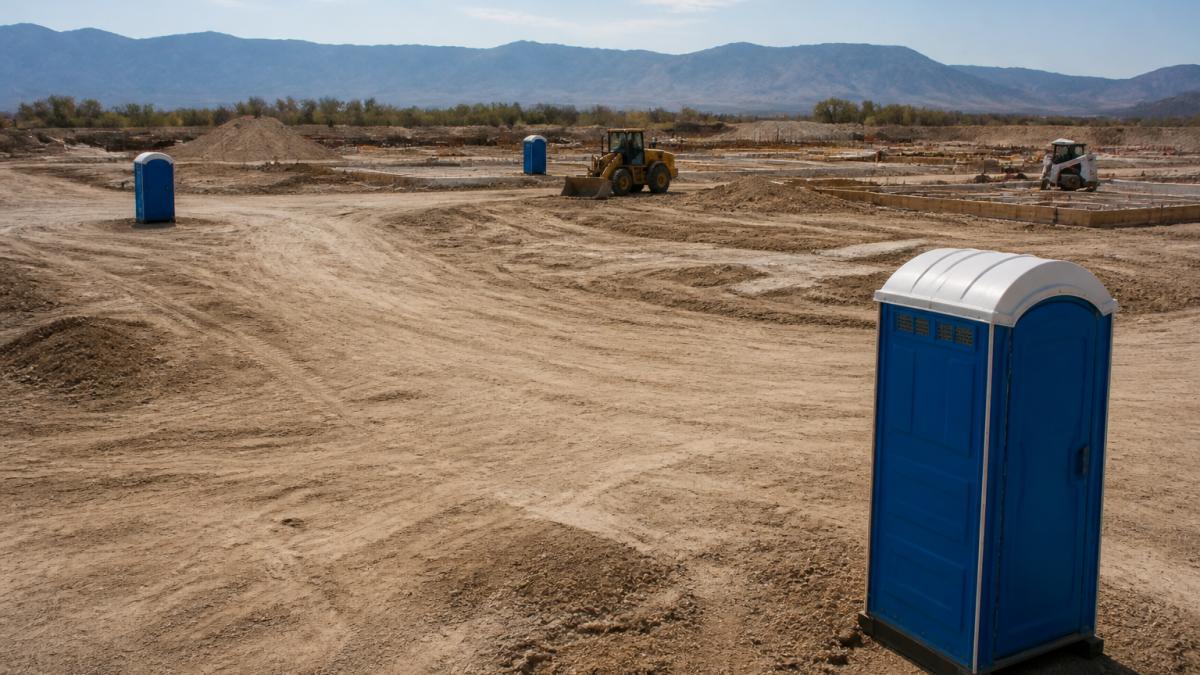
On a large site, the plan must also show where units will sit in six weeks, after excavation moves to the north parcel or a second shift starts on the east pad. Build it to be revised, not laminated.
Use a Coverage Method Instead of "Nearby"
"Nearby" is not a placement plan. On a multi-acre site, use a simple coverage rule you can actually measure on the map.
A practical starting point many site managers use: no worker should walk more than about 250 feet, roughly a one-minute walk at normal pace, from a primary work position to the nearest unit.
To apply it:
- Draw the site boundary and mark every active work zone.
- Draw a circle with a 250-foot radius around each proposed cluster location.
- Check that every work position falls inside at least one circle.
- Where circles leave gaps, add a cluster or shift an existing one.
Then sanity-check the count against demand. If a cluster's coverage circle contains 40 workers on a single shift, one or two units will bottleneck at break times.
Plan for Phased and Changing Sites
Large projects rarely hold still. Earthwork gives way to foundation, foundation to structure, structure to finish. Each phase moves the workforce and changes which routes are open.
Build a phase-by-phase placement table into your site plan:
- Phase name and dates. When does the work move?
- Active work zones. Which parcels or floors are occupied?
- Unit count and location. Where do clusters sit during this phase?
- Relocation trigger. What event, a milestone, a zone handover, a route closure, signals the move?
- Service route. Does the pump truck still have a clear path after the move?
Treat relocation as a scheduled task, not an emergency. Units that stay put after the workforce moves become unused while distant crews improvise. Coordinate moves with your service provider so units are pumped and cleaned before they are repositioned, and so the service route is updated in the same visit.
Distribute Units Across the Site
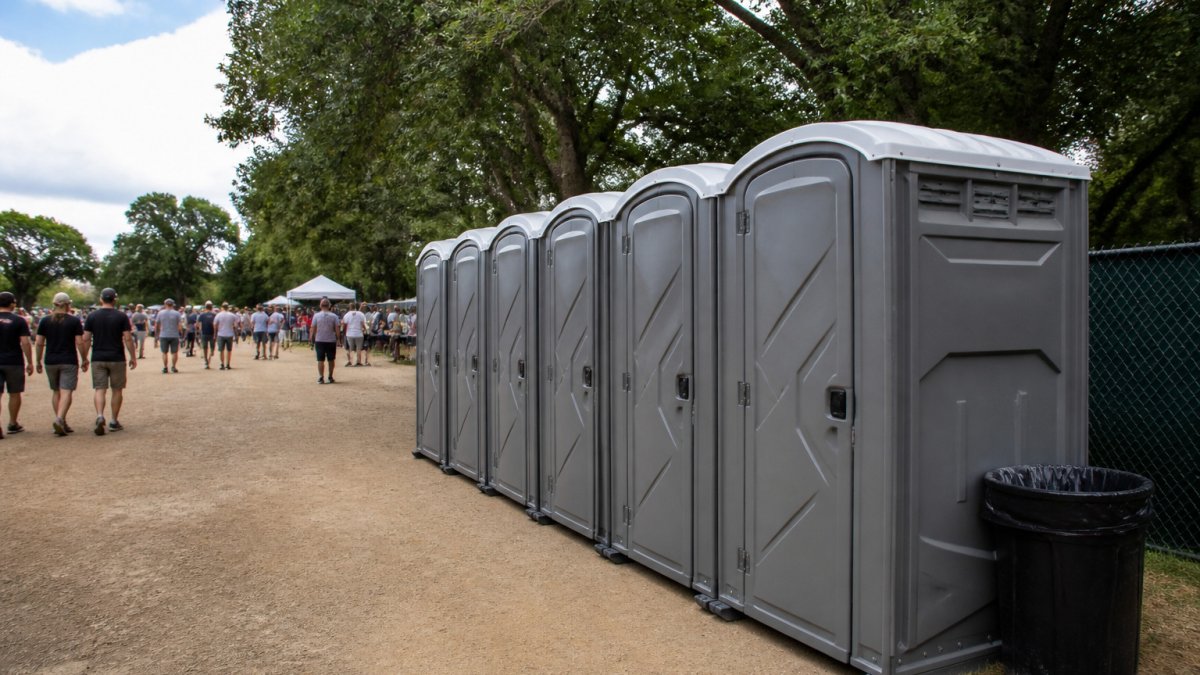
Clustering all units in one area forces long walks and concentrates traffic. Spread them across the site, using the coverage circles above to set spacing.
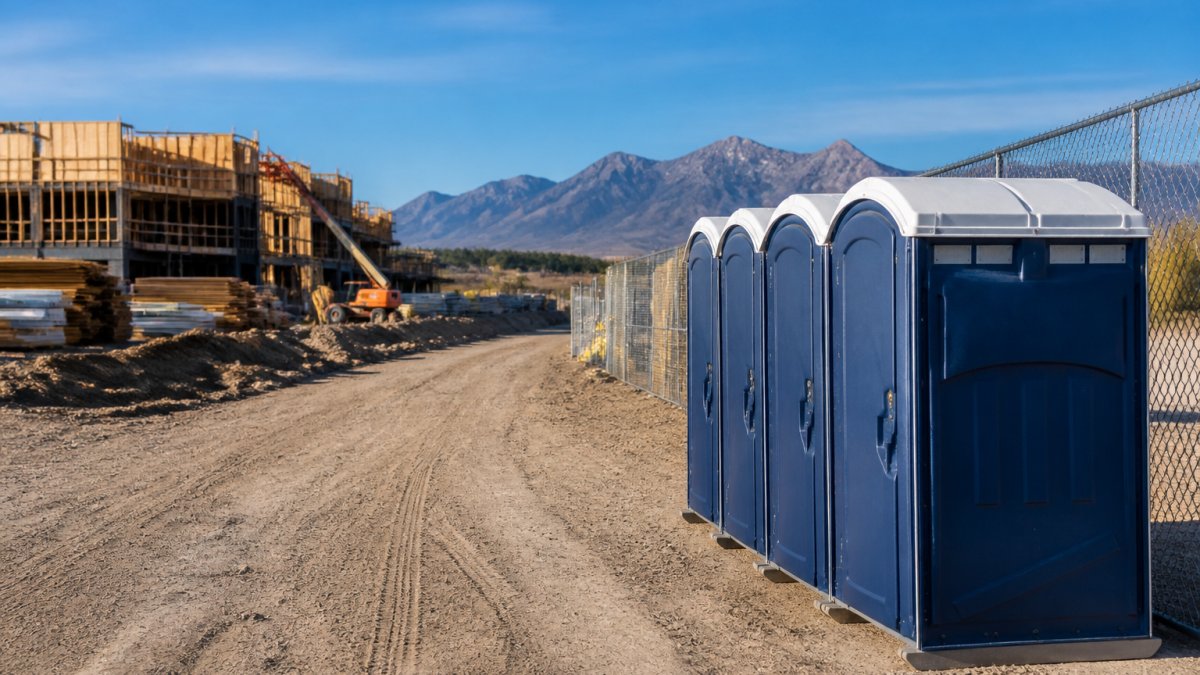
For large sites, create zones. A several-acre construction site typically needs two or three clusters, and separated parcels may need one each; an event venue with distinct areas should have units near each. This reduces congestion and keeps pedestrian traffic moving.
Keep units off high-traffic pedestrian routes, slightly off the main path but still visible and accessible.
Ensure no single unit becomes a bottleneck. If one unit serves 20 workers at peak times, add another.
Balance Visibility with Discretion
Users need to find restrooms easily. Place units where they're visible from major work areas; a hard-to-find restroom gets avoided, pushing workers toward improvised alternatives that create sanitation problems.
Keep units away from food and beverage stations, separate them by at least 50 feet when possible to protect food safety and improve the user experience.
Avoid placing units where they block views of main attractions or create eyesores at event venues. Position them discreetly and screen them with temporary barriers if needed.
Ensuring Portable Restroom Service Access
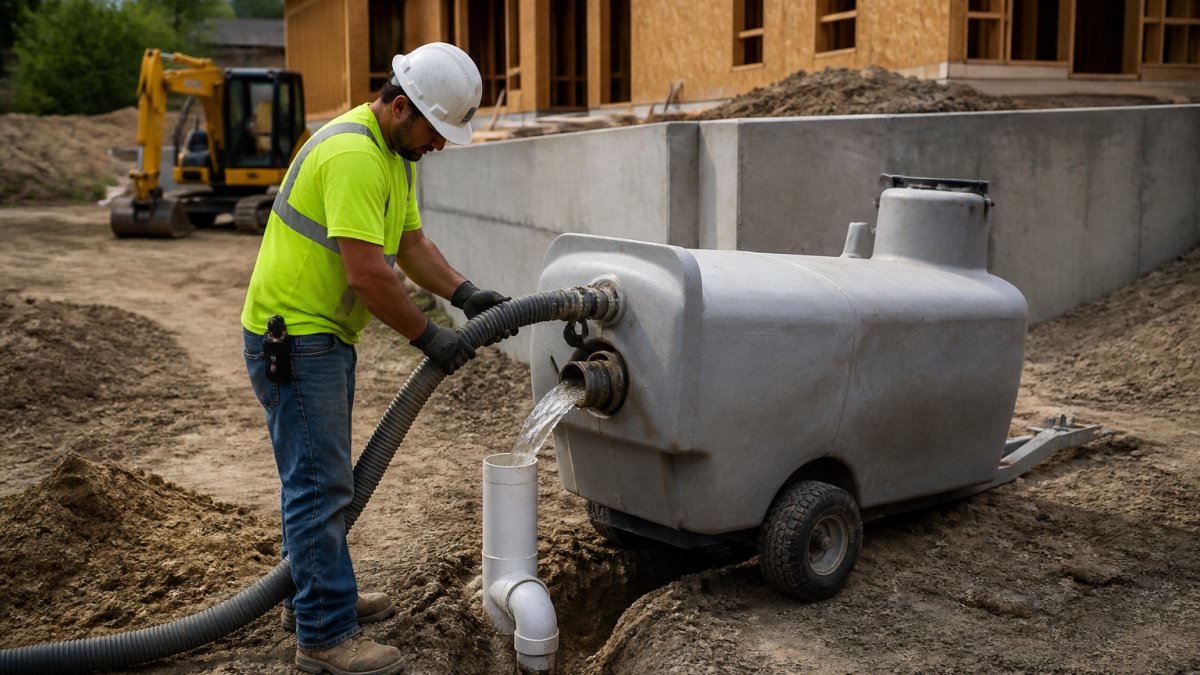
Service vehicles need clear access to every unit.
Mark service routes on your site plan. These routes should be wide enough for the service vehicle and clear of parked equipment, material piles, or debris.
Tell your team not to park near units or block service routes. A blocked unit can't be serviced on schedule, creating sanitation issues and disrupting your project.
Schedule service during low-traffic periods, early morning or end of shift, and coordinate timing and access needs with your provider.
Clear service routes mean consistent maintenance and clean equipment throughout your project.
Choosing Ground Conditions and Terrain
Stable, level ground is essential for portable restroom placement. Soft soil, sand, or mud causes units to sink or shift, creating safety hazards and drainage problems.
Inspect the ground before placement by pressing down with your foot.
Avoid low spots where water collects. Pooling water creates unsanitary conditions and makes servicing difficult, so position units on slightly elevated areas when possible.
For sites with poor drainage, consider temporary ground reinforcement. Plywood or composite mats create a stable base. They also protect the ground from damage and make cleanup easier.
Weather and seasons affect ground conditions, spring thaw creates mud, and fall and winter bring rain and freezing.
Portable Restroom Servicing Frequency and Scheduling
Service frequency depends on usage. Light use might need service twice a week. Heavy use requires daily service.
Plan service schedules around work patterns. Morning service before crews arrive keeps units fresh. End-of-day service prevents overflow overnight.
For multi-week projects, establish a consistent schedule. Workers should know when service happens. This prevents surprises and maintains sanitation standards.
Document service dates and times. Keep records of maintenance visits. This helps you spot patterns and adjust frequency if needed. Heavy use days might need extra attention.
Communicate service needs clearly with your provider. Mention peak times and usage patterns. A good service partner adjusts their schedule to match your site's rhythm.
Making Units Accessible to All Users
Portable restroom accessibility is two separate problems: the unit itself, and the route that gets a user to it. Most placement guides cover only the first. On a large site, the route is usually where accessibility fails.
Start with the Unit
An accessible portable restroom is not simply a standard unit with a wider door. Look for units designed and labeled as accessible, with the interior turning space, grab bars, and door width needed for a wheelchair or mobility device. Confirm the unit's specifications with your provider before you promise an accessible facility on a site plan.
Position at least one accessible unit per restroom cluster, not one per site. A single accessible unit at the main gate does nothing for a worker on the far side of a 10-acre parcel.
Build an Accessible Route, Not Just a Path
A route that works for a person on foot can fail for a wheelchair, a walker, or a worker on crutches. Check every approach path against these conditions:
- Width. The route should be wide enough for a wheelchair to pass, at least 36 inches of clear width is a common minimum, and wider where two users might pass.
- Surface. Firm, stable, and slip-resistant. Loose gravel, mud, and soft sand defeat wheels and crutches. Use compacted crushed stone, mats, or temporary paving where native ground is soft.
- Gradient. Steep slopes are a barrier. Keep approach routes as close to level as the terrain allows, and avoid cross-slopes that tip a wheelchair sideways.
- Turning space. A user needs room to turn and approach the door squarely. Leave clear space in front of the unit door and beside it.
- Obstructions. Keep hoses, cords, material piles, and parked equipment off the route. A route that is clear at 7 a.m. can be blocked by 10 a.m.
- Door approach. The door should open onto a level landing, not a step, curb, or drop-off.
Connect Accessibility to the Rest of the Plan
Accessible placement interacts with the other decisions on this page. A cluster placed for good service access may sit on a slope; a cluster placed for discretion may sit behind an obstacle course of stored material.
Consider signage for users with vision impairments. Clear, large text helps everyone locate units quickly. Directional signs reduce confusion and wandering, and they should point to the accessible unit specifically, not just to the cluster.
For large events or sites, provide seating areas near restrooms. Users waiting for access appreciate shade and a place to rest.
Common Mistakes to Avoid
Placing all units in one location. This creates congestion and long walks for distant workers.
Ignoring service access. Units placed where service vehicles can't reach become problems fast.
Positioning near food areas. This violates basic sanitation principles and creates health risks.
Forgetting about weather. Wind carries odors. Sun makes units uncomfortable.
Underestimating demand. Too few units create bottlenecks and frustration.
Poor signage. Workers shouldn't have to hunt for restrooms. Make units visible and clearly marked.
Failing to plan service access. Blocked service routes mean missed maintenance. Plan routes before units arrive.
Portable restroom placement is foundational to site sanitation.
Frequently Asked Questions
How many portable restrooms does a large job site need?
The number depends on your workforce size, shift length, and site layout. A general rule: one portable toilet per 10 workers for an 8-hour shift; add units for longer shifts or high-traffic events. For construction sites, factor in peak occupancy times. A site with 50 workers typically needs 5-7 units; 100 workers may need 10-12. Your portable restroom service provider can assess your specific needs and help you avoid under-provisioning, which creates bottlenecks and reduces worker satisfaction.
What surface should portable restrooms be placed on?
Place units on level, flat, stable ground, concrete, asphalt, or compacted gravel work best. Avoid soft soil, mud, or uneven terrain that can cause settling, tipping, or drainage problems. If your site has poor drainage, lay down plywood or gravel base to prevent pooling and unit movement. Sloped ground increases the risk of instability and makes servicing difficult for pump trucks. Inspect the ground before delivery and address any drainage or stability issues upfront.
How often should portable restrooms be serviced on a large site?
On active construction sites with heavy use, plan for servicing 2-3 times per week minimum; high-traffic sites may need daily service. For events, service frequency depends on attendance and duration, a weekend festival with hundreds of attendees typically needs daily or twice-daily pumping. Coordinate a servicing schedule with your provider before work begins so service vehicles have reliable access and workers are never without clean facilities. Missed pickups disrupt operations.
How do you make portable restrooms accessible to service trucks?
Designate clear, wide access routes (at least 12 feet wide) from the site entrance to each unit cluster. Keep routes free of obstacles, equipment, and parked vehicles. Ensure ground is firm enough to support a pump truck (typically 25,000-35,000 pounds). Avoid narrow alleys or steep grades. Coordinate with your site manager to keep access lanes open during service windows. Poor service access forces delays, missed appointments, and overflow problems, investing in clear access prevents costly downtime and sanitation failures.