 how-to
7 Portable Toilet Placement Strategies for Large Fields
Last Updated: October 24, 2026
Quick Summary
Portable toilet placement for large fields requires distributing units across activity zones with a target walking distance of 5 minutes for events and 10 minutes for construction sites, while ensuring level ground, service truck access, and ADA-compliant routes. Balance headcount, layout, accessibility, service logistics, and weather to keep operations flowing.
- Use one portable toilet per 50 attendees for events up to four hours, adjusted for event type, duration, and site spread.
- Position units within a 5-minute walk (250-300 feet) for events and 10-minute walk (500-600 feet) for construction and agricultural work.
- Place clusters at activity density zones rather than equal quadrants, sizing each cluster for peak hour demand in that zone.
- Ensure service trucks have 10-12 feet of clearance around each unit and access routes with gentle grades and solid ground.
- Test accessible routes with a level to confirm running slope does not exceed 1:12 and verify firm, stable surfaces before people arrive.
Table of Contents
- Why Portable Toilet Placement Matters on Large Sites
- Step 1: Calculate How Many Portable Toilets for 100 People and Beyond
- Step 2: Choose Level Ground and Stable Surfaces
- Step 3: Distribute Units Across the Site to Reduce Walking Distance
- Step 4: Plan Portable Toilet Access for Service Trucks
- Step 5: Ensure ADA-Compliant Portable Restroom Placement
- Step 6: Position Units for Portable Toilet Placement for Outdoor Events
- Step 7: Account for Weather, Drainage, and Changing Conditions
- Frequently Asked Questions
Why Portable Toilet Placement Matters on Large Sites
Portable toilet placement on large fields determines whether your event or project runs smoothly or becomes a sanitation crisis. Poor placement creates bottlenecks and long walks; smart placement keeps operations flowing.
Portable toilet placement strategies for large fields balance headcount, layout, accessibility, service logistics, and weather.
Patriot Solutions helps construction managers, event planners, and agricultural operations optimize sanitation layouts across the Delta, Utah area.
Step 1: Calculate How Many Portable Toilets for 100 People and Beyond
Start with the right quantity: too few units create lines, too many waste money and space.
The baseline is one portable toilet per 50 attendees for events up to four hours, adjusted for event type, duration, and alcohol service. On construction sites, position units within about 10 minutes of active work areas.
For larger gatherings, scale up accordingly:
- Small events (50-100 people, 4 hours): 1-2 units
- Medium events (100-300 people, 4-6 hours): 2-4 units
- Large events (300+ people, 6+ hours): 4+ units, distributed across zones
The real variable is site spread: a compact 200-person wedding needs fewer units than a 200-person event scattered across acres.
For construction projects, calculate portable toilet needs for large construction projects to match your crew size and schedule. For events, how to estimate portable toilets for events offers additional sizing guidance.
Account for peak usage: attendees cluster in the first and final hour, and crews peak mid-morning and mid-afternoon.
Use these baseline quantities as a starting point for your site, then adjust based on event type, duration, and site spread.
| Event or Site Type | Attendees or Workers | Duration | Portable Toilets |
|---|---|---|---|
| Small event | 50-100 people | 4 hours | 1-2 units |
| Medium event | 100-300 people | 4-6 hours | 2-4 units |
| Large event | 300+ people | 6+ hours | 4+ units distributed |
| Construction site | 20-50 workers | ongoing | 1-2 units per work zone |
| Agricultural operations | 50 seasonal workers | seasonal | 1 unit per 50 workers plus 1 extra |
Step 2: Choose Level Ground and Stable Surfaces
Portable toilets tip over on uneven or soft ground and sink into mud, causing drainage problems and service difficulties.
Look for level, solid surfaces: asphalt, concrete, or compacted gravel.
Test the ground with your weight: if you sink more than an inch, it isn't stable enough.
For temporary placements on grass or dirt:
- Choose the firmest, driest spots available
- Avoid low areas where water collects
- Consider placing plywood or gravel mats under units for extra stability
A tilted unit doesn't drain properly and creates an unsafe, unpleasant experience, so take time to find the best spots.
Step 3: Distribute Units Across the Site to Reduce Walking Distance
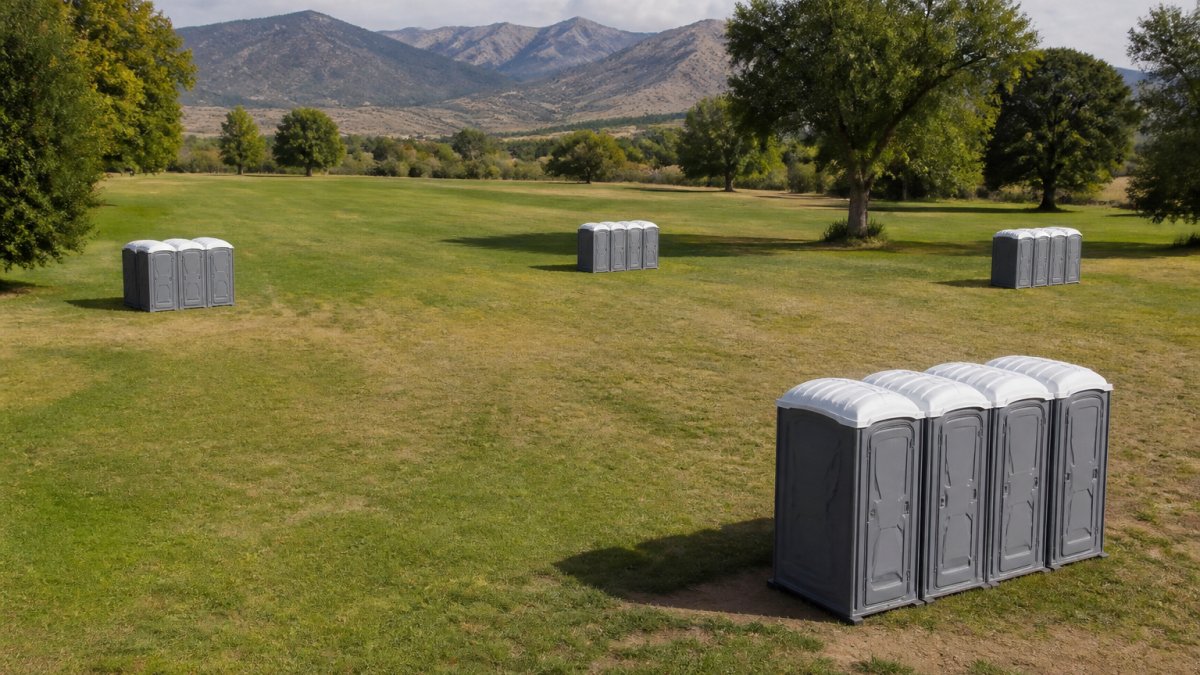
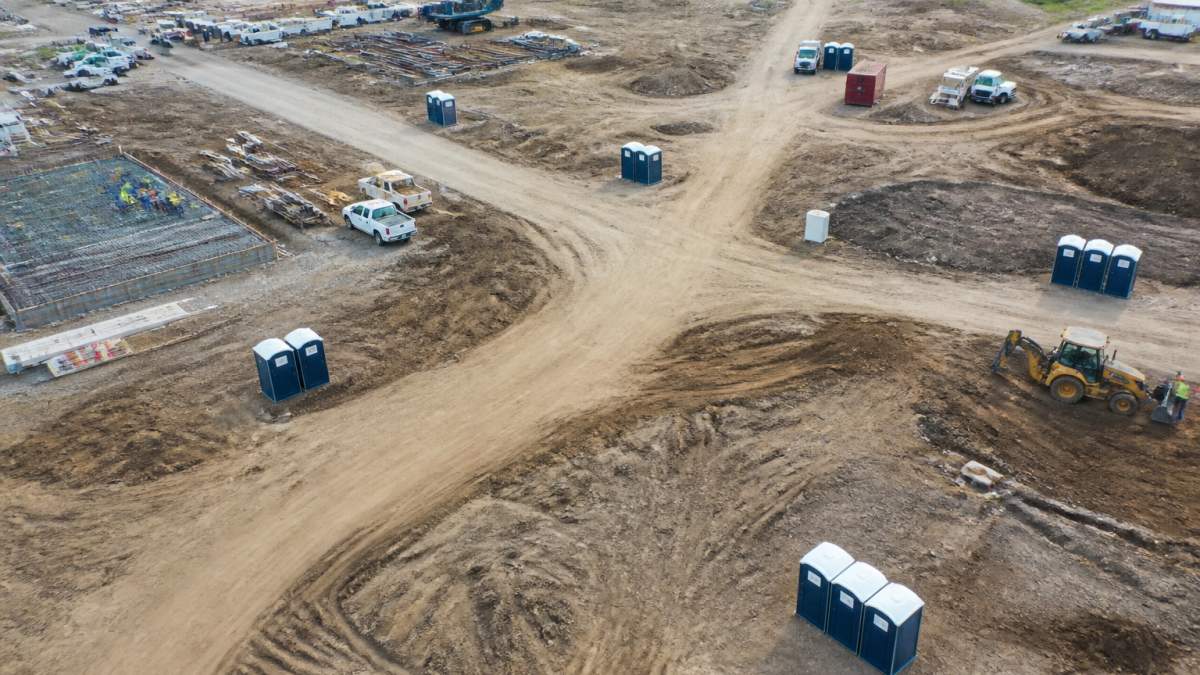
Clustering all portable toilets in one location defeats the purpose on a large field: users on the far side face long walks, meaning lost productivity on a jobsite or abandoned facilities at an event. The fix is a zone-based distribution plan with measurable spacing targets.
Set a walking-distance target first
Most practitioners target a 5-minute walk (roughly 250-300 feet) for events and a 10-minute walk (roughly 500-600 feet) as the outer limit for construction and agricultural work. Pick one target and design to it: on a 10-acre field, a 300-foot target means one central cluster can't cover the field, so place clusters on a grid no wider than twice your target (600 feet apart for a 300-foot target).
Divide the field into usage zones, not equal quadrants
Equal spacing ignores where people actually are. Map the field by activity density:
- High-density zones (main stage, food vendors, registration, active excavation, crane pads): place a cluster at the edge of each zone, 10-15 feet off the main flow, with enough units for peak demand.
- Medium-density zones (seating, staging, material laydown): one cluster serving the zone edge.
- Low-density or transit zones (parking, perimeter paths, haul roads): one cluster at the entry point, not scattered along the route.
A common pattern for a 500-person, 6-hour event on a 10-acre field is four clusters of 3-4 units at the four activity corners rather than the geometric corners, keeping every guest within about a 3-minute walk.
Build a coverage map before you commit
Sketch the field boundary, mark work zones and vehicle routes, then draw a circle equal to your walking-distance target around each proposed cluster; gaps show where you need another cluster or can drop one.
Match cluster size to peak demand, not average demand
Distribution and capacity are linked: two units at a zone with 150 peak users will queue regardless of placement. Size each cluster for its zone's peak hour, and if peak exceeds roughly 50 users per unit for a four-hour window, add a unit to that cluster.
Keep clusters visible and out of traffic
Position each cluster 10-15 feet off high-traffic paths so it's visible without blocking foot traffic or machinery. On construction sites, place clusters inside or at the edge of the active work zone, not the perimeter; on event fields, place them near but not inside the main gathering area, with clear sight lines.
Adjust for spread, not just area
A compact 200-person event needs fewer clusters than one spread across a long, narrow field. On long, narrow sites, distribute clusters along the long axis; on wide, shallow sites, along the wide axis. The goal is minimizing the longest walk any single user faces.
Step 4: Plan Portable Toilet Access for Service Trucks
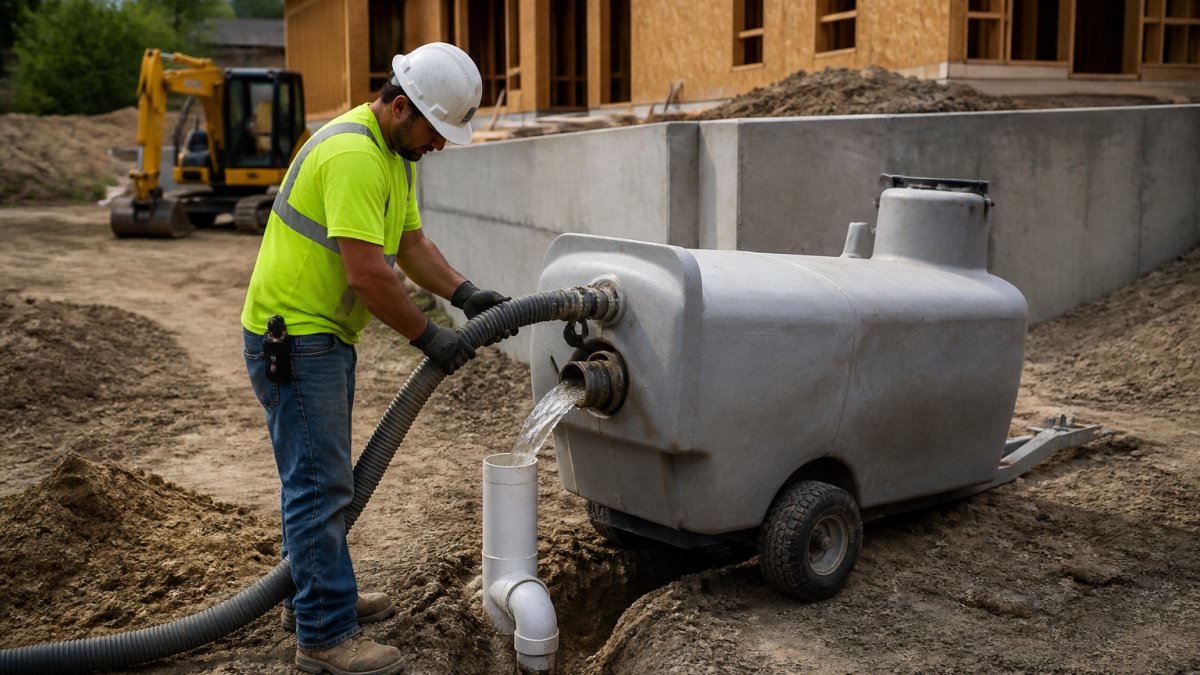
Your portable toilets need regular servicing. Pumping trucks must reach each unit without crossing active work areas or getting stuck.
Map access routes before placement.
For construction sites, coordinate service schedules with your site manager: morning deliveries before work starts or evening pickups after crews leave minimize disruption.
On event sites, position units where delivery trucks can arrive and depart without crossing guest areas. For multi-day events, plan for daily servicing. How to prepare for portable toilet delivery covers logistics in detail.
Communicate access needs with your service provider. Poor access planning leads to missed service calls and overflowing units.
Step 5: Ensure ADA-Compliant Portable Restroom Placement
Accessibility on a large field is a route-planning problem, not a checkbox: an ADA-compliant unit at the end of a muddy, sloped path is not accessible in practice. The 2010 ADA Standards for Accessible Design set the dimensions, but placement strategy determines whether a user can actually reach the unit.
Start with the unit requirements
An accessible portable restroom must provide:
- A level, firm, stable surface at the unit and along the approach
- An accessible route with a running slope no steeper than 1:12 (1 foot of rise per 12 feet of run) and a cross slope no steeper than 1:48
- A clear floor space at least 60 inches wide at the door
Verify these against the specific unit your provider supplies; not every unit marketed as accessible meets the interior turning and reach requirements.
Plan the route, not just the pad
The most common failure on large fields is a compliant unit at the end of a non-compliant route. Treat the route as part of the placement:
- Surface: the route must be firm and stable. Grass is acceptable only when dry and firm; gravel mats, plywood runners, or compacted crushed stone are common fixes on fields.
- Slope: measure the running slope along the route, not just at the unit. A field that looks flat can have a 1:10 grade over 50 feet. If the natural grade exceeds 1:12, route the path along a contour or add a switchback rather than placing the unit on the slope.
- Width and turning: keep the route at least 36 inches wide (60 inches preferred at the door approach) and provide a level landing at the unit door.
Place accessible units on the primary route, in every zone
Put at least one accessible unit on the most direct accessible route from parking and the main entrance. On a multi-zone field, place an accessible unit in each zone with its own population rather than clustering them all in one location.
For events, position accessible units near accessible parking, the main entrance, and primary gathering areas, with a firm, level path between them.
Test the route before people arrive
Walk the route yourself, then test it with a wheelchair or mobility device if possible. Check the running slope with a level, confirm the door approach is clear, and verify the landing is firm after rain, since a route that works on a dry day can fail after an inch of rain.
Coordinate accessibility with service access
Accessible routes and service truck routes often conflict. Keep the accessible route on firm ground and out of the truck path, and ensure servicing does not block the accessible unit or its approach. If a truck must cross the route, schedule servicing outside peak use and restore the surface afterward.
Step 6: Position Units for Portable Toilet Placement for Outdoor Events
Outdoor events have unique placement challenges.
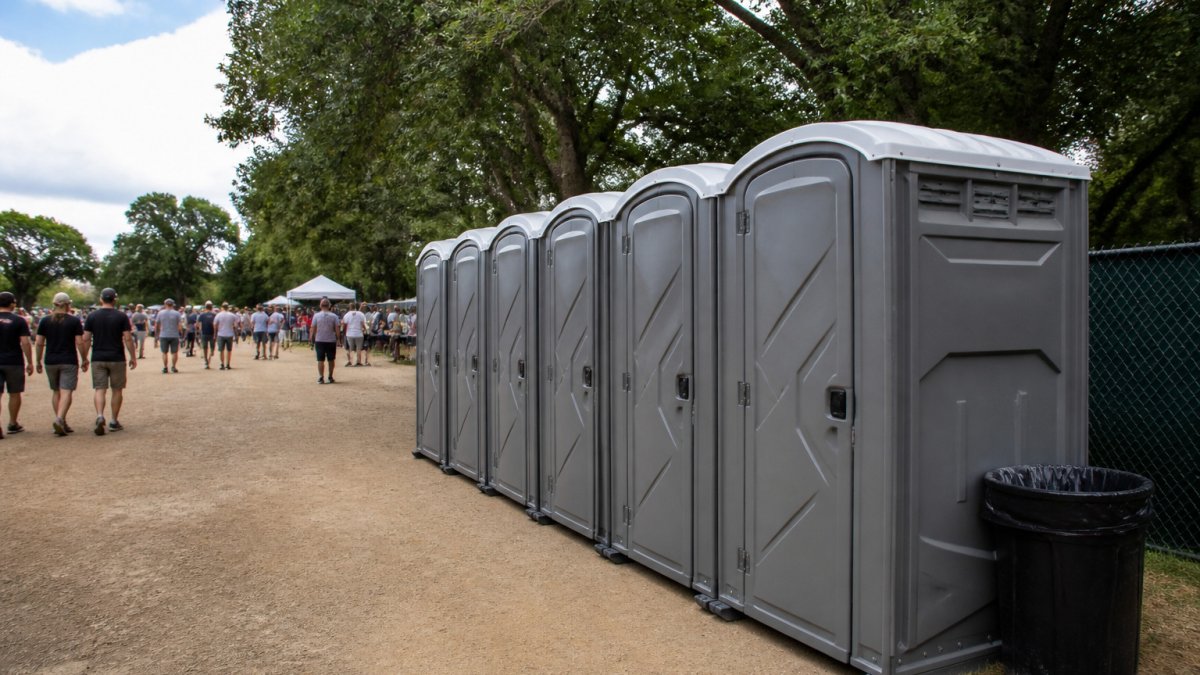
For festivals and markets, position units near vendor areas and crowd concentration points.
For outdoor construction or agricultural work, position units between work zones rather than at zone edges.
Consider sun exposure. Units in full sun get hot and uncomfortable.
For evening events, add lighting near units.
Account for wind direction. Position units downwind from gathering areas when possible.
Step 7: Account for Weather, Drainage, and Changing Conditions
Weather changes during events and projects. Smart placement anticipates these shifts.
Drainage is critical. Never place units in low areas where water collects.
Wind poses tipping risks. Units on exposed fields are vulnerable in strong winds. Secure portable toilets during high winds with proper anchoring systems.
Temperature extremes affect comfort. In summer heat, units become uncomfortable quickly.
Plan for changing conditions during multi-day projects.
For seasonal agricultural operations, position units where changing work areas can be accommodated.
Patriot Solutions helps plan for these variables.
Ready to set up your site correctly? We help you plan placement, handle delivery logistics, and maintain facilities throughout your project or event. Contact Patriot Solutions to discuss your portable toilet needs and get a placement plan tailored to your site.
Frequently Asked Questions
How many portable toilets do I need for 100 people at an outdoor event?
For events lasting up to four hours, plan one portable toilet per 50 attendees, which means two units for 100 people. Longer events or those serving alcohol increase demand, consider adding one extra unit for every 30 additional people in those scenarios. Construction sites follow OSHA guidelines, which recommend facilities within approximately 10 minutes of active work areas.
How far apart should portable toilets be placed in a large field?
Position portable toilet placement strategies for large fields by distributing units into multiple groups rather than clustering all units in one location. This reduces walking distance and improves user convenience. Place units 10-15 feet away from high-traffic areas and heavy machinery to maintain safety. For sprawling sites, group units strategically so no worker or guest walks more than 10 minutes to reach facilities.
What accessibility requirements apply to portable restroom placement?
ADA-compliant portable restroom placement requires clear, level access routes at least 36 inches wide leading to units. Position at least one accessible unit on stable, level ground with firm pathways free of obstacles. Ensure adequate maneuvering space around the unit entrance and provide signage indicating accessible facilities. All accessible units must be serviced regularly to maintain hygiene and functionality for all users.
How do I ensure portable toilet access for service trucks on my site?
Plan portable toilet access for service trucks by designating clear pathways wide enough for pumping vehicles (typically 12-14 feet). Keep units no more than 50 feet from vehicle access routes when possible. Mark delivery zones and ensure ground conditions remain firm and level to support truck weight. Communicate site layout to your sanitation provider in advance so they can schedule efficient service without disrupting operations.